Shear Maintenance 101: Keeping Your Blades Sharp and Smooth
- Posted on
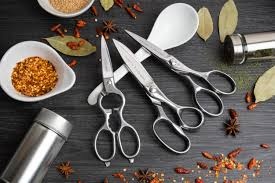
A great pair of kitchen shears is one of the most versatile tools you can own. From breaking down poultry to snipping fresh herbs, these sharp, ergonomic blades save time and effort in the kitchen. But just like knives, shears require proper care and maintenance to perform at their best.
At BCKnife, we carry a curated collection of professional-grade kitchen shears built for durability and precision. To help you get the most out of your investment, we’ve put together this comprehensive guide to keeping your shears sharp, smooth, and long-lasting.
Why Shear Maintenance Matters
Many home cooks underestimate the importance of maintaining their shears. Over time, residue, moisture, and friction can wear down blades and joints, leading to:
- Dullness – Blades won’t cut cleanly, causing tearing instead of slicing.
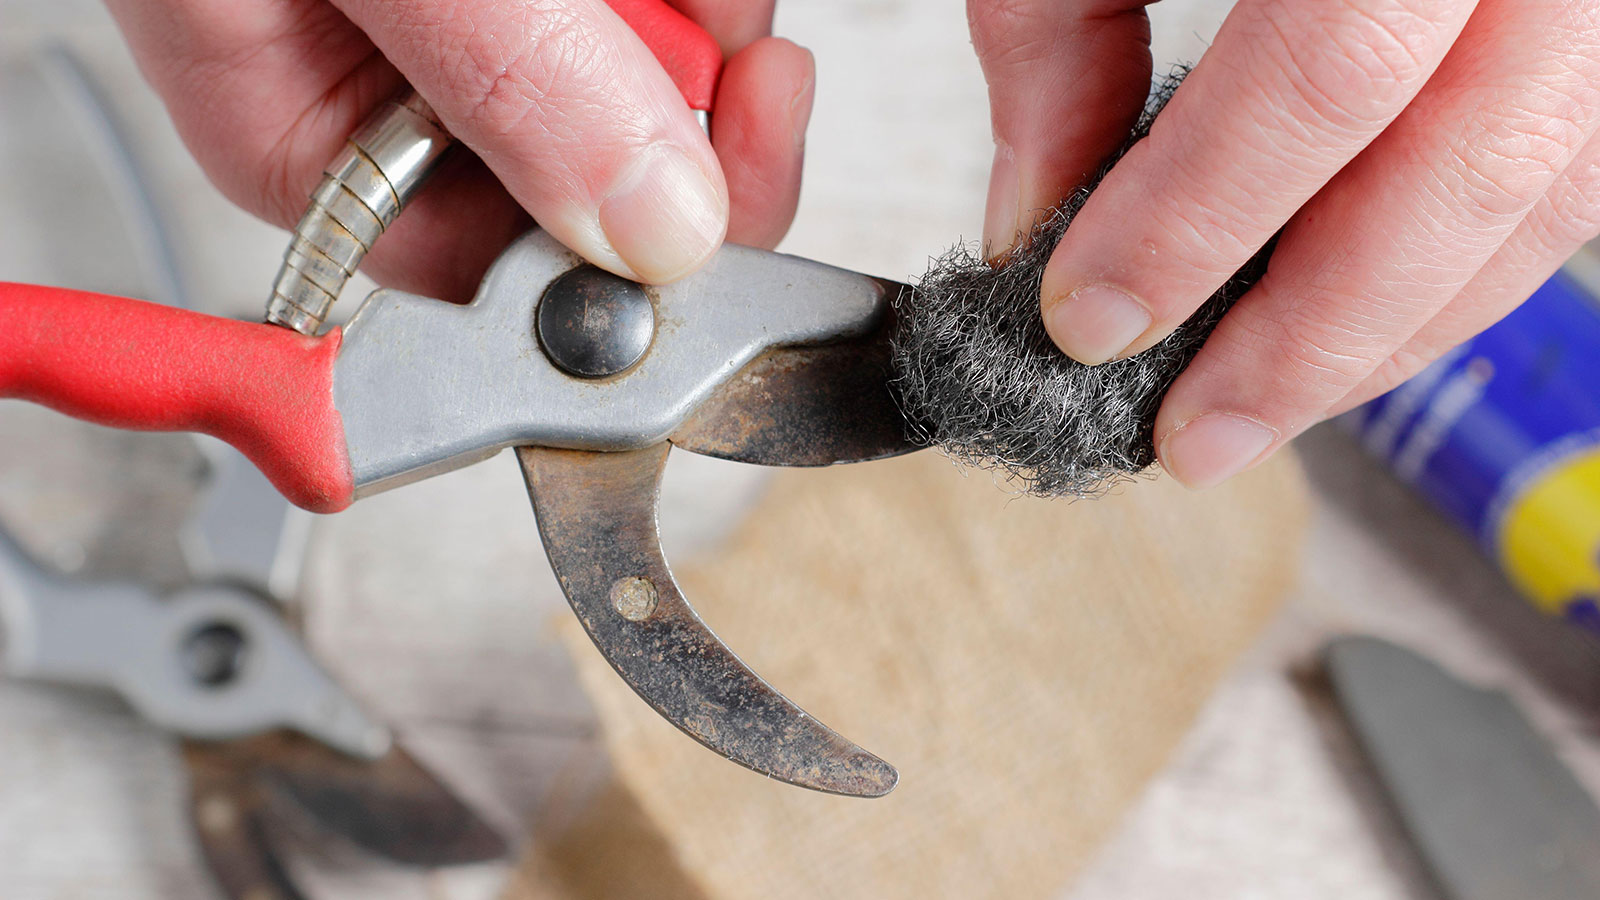
- Rust and corrosion – A common problem if shears are not dried thoroughly.
- Loose pivot points – Making shears feel unstable or unsafe to use.
- Bacterial buildup – Especially if shears aren’t cleaned after cutting meat or poultry.
With proper care, however, a quality pair of shears can last for years—even decades—delivering precision and efficiency in the kitchen.
Step 1: Cleaning Shears the Right Way
Cleaning is the first step in maintenance. Unlike knives, kitchen shears often have a pivot point or detachable blades that need special attention.
Daily Cleaning Routine
- Hand wash only – Avoid the dishwasher, as the high heat and detergent can damage blades and handles.
- Use warm, soapy water – Gently scrub away food particles, grease, or residue.
- Pay attention to the pivot – Use a small brush or toothpick to remove buildup near the joint.
- Rinse and dry thoroughly – Water left on the blades can lead to rust.
Deep Cleaning for Meat and Poultry Shears
When cutting raw meat or poultry, bacteria can accumulate in the pivot and grooves. Choose take-apart shears for easier cleaning. Simply separate the blades, wash, sanitize, and dry before reassembling.
Step 2: Drying and Storage
![2-Pack] Kitchen Shears, Kitchen Scissors Heavy Duty Dishwasher Safe, Utility Scissors All Purpose, Stainless Steel Sharp Food Cooking Scissors for General Use for Chicken Poultry Meat Fish Vegetable : Amazon.ca: Home](https://m.media-amazon.com/images/I/617kzbbxkqL._UF350,350_QL80_.jpg)
Moisture is the enemy of sharp blades. After cleaning:
- Towel dry immediately – Don’t let shears air-dry, as water spots can turn into rust.
- Oil the pivot point – A drop of food-safe mineral oil keeps the motion smooth.
- Store safely – Use a protective case, magnetic strip, or drawer insert to prevent damage and accidental cuts.
Pro Tip: Avoid tossing shears in a drawer with other utensils, as clashing metal can dull the edges.
Step 3: Sharpening Kitchen Shears
Even the best shears will eventually lose their edge with heavy use. Regular sharpening restores their cutting power.
How Often to Sharpen
- Frequent use (daily/weekly) – Sharpen every 2–3 months.
- Occasional use – Sharpen every 6–12 months.
Sharpening Methods
- Manual Sharpeners – Some kitchen sharpeners have a scissor slot. Simply run each blade through the slot for a refreshed edge.
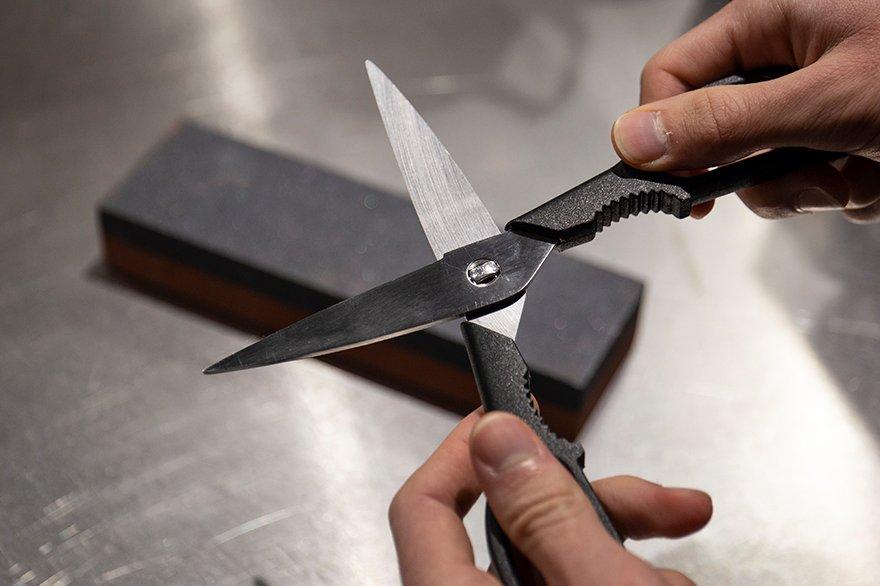
- Sharpening Stones – Hold the blade at a 15–20° angle and draw it across the stone. Repeat until sharp.
- Professional Services – If you’re not comfortable sharpening yourself, many knife shops will service shears.
Remember: only sharpen if your shears are designed for it. Some serrated or specialty blades may require professional maintenance.
Step 4: Lubrication and Smooth Performance
The pivot screw or hinge of your shears is just as important as the blades. Over time, it can stiffen, loosen, or corrode.
- Add one drop of food-grade mineral oil to the hinge every few months.
- Tighten the pivot screw if the blades feel wobbly.
- For take-apart models, lubricate both connection points before reassembly.
A smooth hinge not only improves performance but also extends the lifespan of your shears.
Common Mistakes to Avoid
Even with good intentions, many cooks accidentally shorten the life of their shears by making these mistakes:
- Putting them in the dishwasher – Heat, detergent, and rattling damage blades.
- Using them on hard materials – Don’t cut wire, plastic, or bones thicker than they’re designed for.
- Storing them wet – This leads to rust and corrosion.
- Neglecting the pivot – A stiff hinge can ruin performance.
By avoiding these pitfalls, you’ll protect your investment and enjoy smoother, sharper cuts.
Choosing the Right Shears for Easier Maintenance
Not all shears are created equal. Some are easier to clean, sharpen, and maintain than others.
- Take-apart shears – Best for deep cleaning and sanitizing.
- Stainless steel shears – Resist rust and corrosion better than carbon steel.
- Ergonomic handles – Comfortable to use, reducing wear and tear on your hands.
- Professional-grade shears – Built for long-term durability in busy kitchens.
If you’re still deciding which type is right for you, check out our guide: [Professional Grade vs. Home Use: Choosing Shears for Your Needs].
Shears Beyond Herbs
Of course, keeping your blades sharp means you can use them for much more than herbs. From breaking down poultry to cutting pizza, lettuce, and even seafood shells, the possibilities are endless. Want to discover all the creative ways to use your shears? Don’t miss our blog: [Beyond Cutting Herbs: 15 Surprising Uses for Kitchen Shears].
Shop Premium Shears at BCKnife
Proper care and maintenance are key to extending the life of your kitchen shears. By following these simple cleaning, drying, sharpening, and lubricating practices, you’ll keep your blades sharp and smooth for years to come.
Ready to upgrade your kitchen tools? Explore our Shears Collection to find high-quality, professional-grade options designed for durability and easy maintenance. From heavy-duty poultry shears to versatile multi-purpose models, BCKnife has the perfect fit for your kitchen.